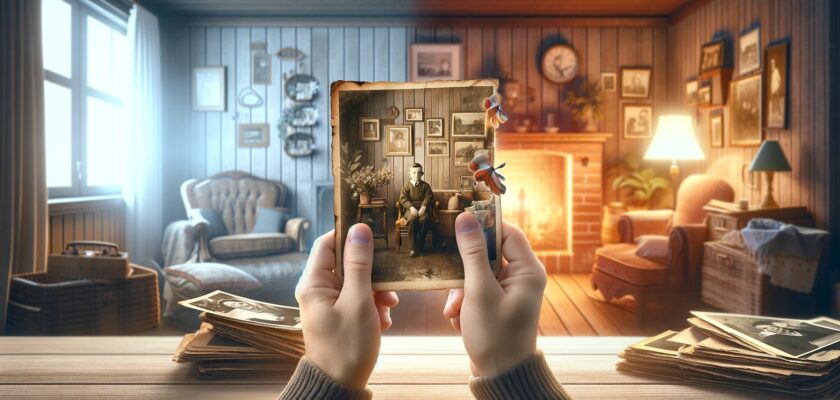
Memories are timeless treasures of the heart, and photographs are their keepers. But as time marches on, these precious snapshots of yesteryear can become faded, torn, or pixelated. Fear not, for the digital era brings with it powerful tools to restore and rejuvenate these cherished mementos. In this comprehensive guide, we'll delve into how you can use modern techniques to breathe new life into old home photographs, transforming them into pristine pieces perfect for family albums or historical archives.
Contents
Understanding the Basics
Before diving into the restoration process, it's crucial to grasp the basics of these modern techniques:
- Upscale Image: Upscaling is the process of increasing the resolution of an image, making it sharper and more detailed.
- Remove Background: This tool helps in removing unwanted backgrounds from an image, focusing attention on the primary subject.
Preparing Your Old Photographs
Step 1: Digitize Your Photos
- Scan your old photographs using a scanner or a high-quality camera.
- Ensure the photos are clean and free from dust to get the best results.
Step 2: Choose the Right Tools
- Select software or online services that offer Upscale Image and Remove Background capabilities.
- Look for tools that are user-friendly and suit your specific needs.
Upscaling Your Images
Step 1: Upload Your Image
- Upload your digitized photo to an image upscaler.
- Ensure the image format is compatible with the tool you're using.
Step 2: Adjust Settings
- Select the desired resolution or scale factor to upscale photo as you wish.
- Preview the changes and adjust settings as needed for the best results.
Step 3: Save and Compare
- Save the upscaled image.
- Compare it with the original to appreciate the enhancement in detail and clarity.
Removing Unwanted Backgrounds
Step 1: Select Your Image
- Choose the image from which you want to remove background.
- Ensure the subject of the photo is clear and distinct.
Step 2: Apply the Background Removal Tool
- Use a free background remover tool to eliminate the background.
- Fine-tune the edges to ensure a natural look.
Step 3: Save Your Edited Photo
- Once satisfied with the background removal, save your edited photo.
- You can now use this image for various creative projects or add it to your family album.
Creative Ideas for Revitalized Photos
- Create a Family Photo Album: Compile your enhanced photos into a digital or printed family album.
- Design Personalized Gifts: Use these photos to create personalized gifts like calendars, mugs, or canvas prints.
- Archive for Future Generations: Digitally archive your restored photos for future generations to treasure.
- Create Artistic Displays: Enlarge and frame your enhanced photos to create beautiful wall art.
Best Practices and Tips
- Regularly Backup: Always keep backups of both your original and edited photos.
- Experiment: Don't be afraid to experiment with different settings and tools.
- Quality Over Quantity: Focus on quality rather than trying to enhance every photo.
- Seek Professional Help if Needed: For extremely damaged photos, consider seeking professional restoration services.
Conclusion
Reviving old home photographs is not just about enhancing images; it's about reconnecting with our past and preserving our history for future generations. With advanced editing tools, this task is now more accessible than ever. So, dust off those old albums, and embark on a journey to bring those fading memories back to vivid life.
Whether it's for a family heirloom, a personal project, or just the joy of reliving old memories, the transformation of your cherished photographs awaits. With a bit of patience and creativity, you can ensure that these timeless moments continue to shine brightly, capturing the essence of days gone by for years to come.
Also Read:
- None Found